Discover 3 useful tips for the application of social distancing decals
As so often with a new message you want to convey to visitors, it should not take too much time and or cost too much money. If it’s a very important message, for example about social distancing rules, then a speedy completion is even more important. Fortunately, floor stickers offer a helping hand because they are easy, inexpensive and quick to apply. In this blog, we explain how you can use floor stickers to communicate social distancing rules quickly and easily, and provide some practical (application) tips. In any case, by reading this blog you have already completed your research!
Tip 1:
Use materials that already have a slip resistance without laminating
In addition to the already mentioned solvoprint dot print ‘n’walk R10, there are fortunately other floor stickers that already have good slip resistance and therefore do not need to be laminated. This saves a lot of time! UV print ‘n’ walk power-tack, a floor sticker that is ideal for difficult surfaces such as concrete, carpet and textiles. This highly adhesive floor sticker is R9-certified when using UV inks and is suitable for indoor and outdoor use in dry conditions. However, UVdot print ‘n’ walk or FILMOfloor Rug ‘n’ Wall also have good slip resistance. The latter is a film with a textured PVC coating that does not require an additional laminate, as it is already certified for R12 slip resistance.
Tip 2:
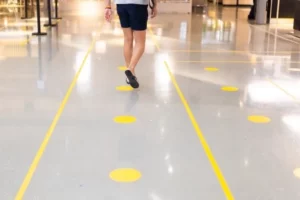
Create simple but eye-catching designs for your floor stickers
Designing your stickers doesn’t have to be difficult. The most important thing is that your message stands out and continues to do so. That’s why you should keep the message short and concise. Make sure people know at a glance where they should stand, what they should or shouldn’t do, and what else is important.
Here are some tips on what messages can be printed on the stickers
- A reminder to keep the minimum distance
- A warning not to enter if you have symptoms
- A reminder to follow one-way streets or other directions
- To adhere to the occupancy/person limit of a space.
- Approved means of payment (and not accepting cash, if applicable);
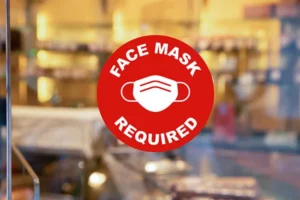
- The local mouth protection policy
- Notice of where to clean hands and/or baskets and shopping carts
- Adjusted hours of operation/special visiting hours for at-risk groups.
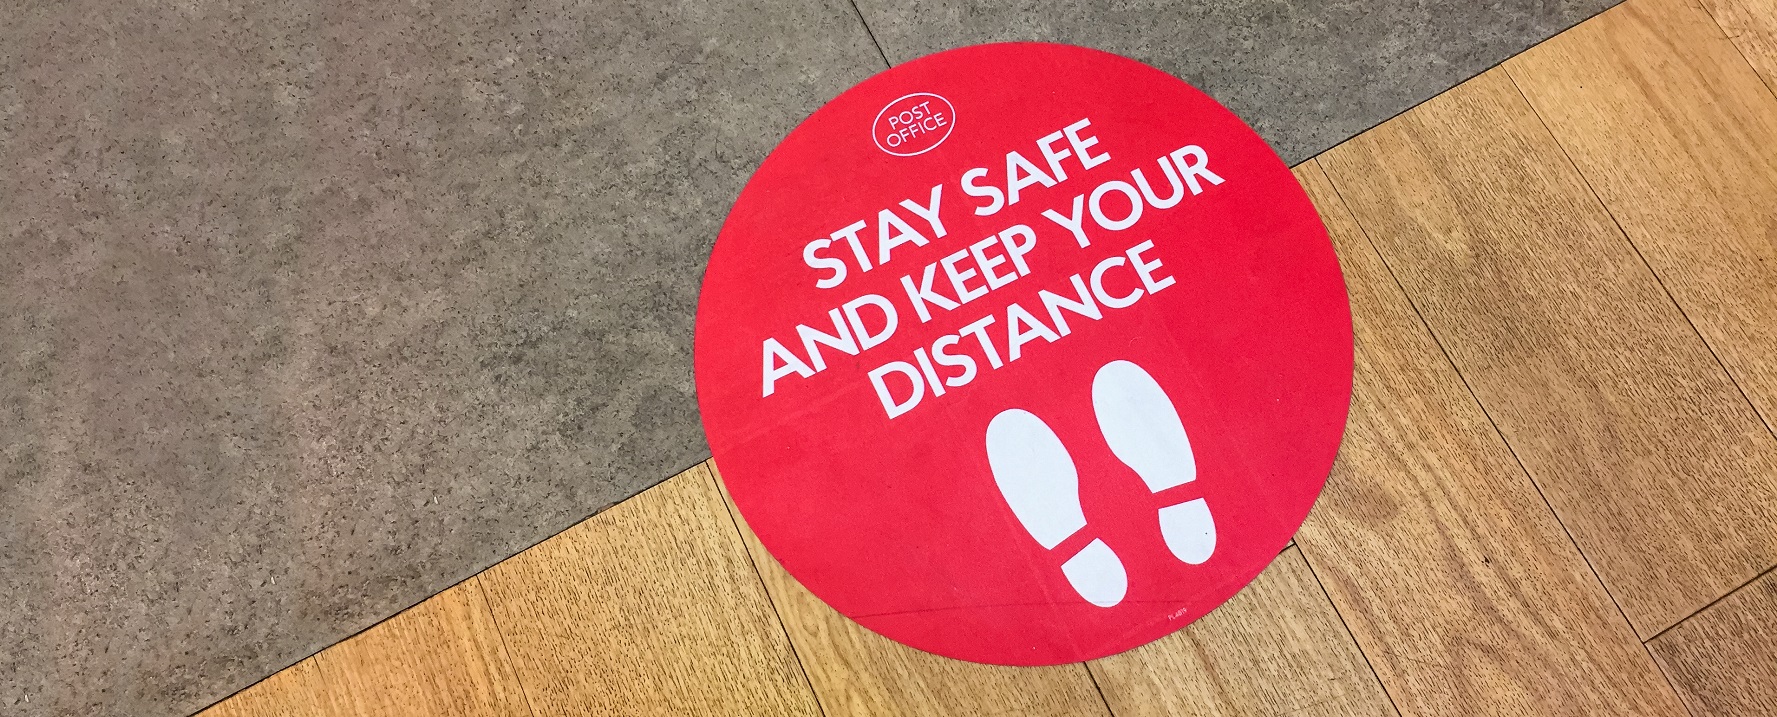
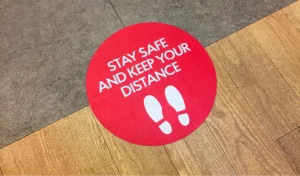
In addition, it is important to make the message on the sticker clear by using a font that is easily visible from a distance. The round circle sticker is a favorite. This is mainly because the sticker is less likely to curl, but also because of the design possibilities of this sticker. Do you want to indicate where people can sit or not? Design a simple red or green circle sticker with a check mark or cross.
Remember to use highly visible colors, preferably those that contrast well with each other. Do you want to display a waiting area? Create a design with two shoe prints. It’s immediately clear where customers or visitors need to stand! Be sure to change the color or design over time. This keeps visitors aware and ensures your message stands out. For example, do you want to mark a safety zone in a workplace, but the traditional yellow/black line isn’t enough to catch the eye? Then choose colored circles with a small diameter to indicate the safety distance from the employee.
One last tip: use the stickers at contact points where many people pass by (entrance, cash register, restrooms, etc.), but don’t overdo it! If you use too many different places, there is a risk that the stickers will no longer stand out and people will unconsciously see them as “background noise”
Tip 3: A correct application also means faster and longer-lasting results
If you don’t have much time, you might rush the application process and get undesirable results. Worst case scenario, you might even have to do it all over again. So make sure, you apply your floor decals in the best way possible with these tips:
- If you notice oily contaminants on the surface, use alcohol or a mild solvent as a pre-cleaner. Make sure the contaminants are completely removed before proceeding with cleaning.
- Use a mild surfactant-based cleaner. This should be free of enzymes. Make sure that the entire surface is cleaned and that the cleaner does not leave any residue.
- The size of the cleaned area must be at least 20 cm larger in all directions than the planned area application area.
- Make sure that the floor is dry and clean and use lint-free cloths for drying.
- Are you ready for application? Remove some of the release paper and apply the adhesive side to the substrate. Then remove the release liner evenly. Avoid placing the edges of the decal over notches or crevices such as joints. Use a squeegee or hand roller to press the decal from the center toward the edges. Watch for air bubbles and make sure the entire decal has contact with the surface.Do you have any questions? Contact our customer service department. We’ll be happy to help.